Agentic finetuning using a custom harness

The goal was to figure out whether a small model running on my own hardware could do the job of intent classification and structured parameter extraction  well enough for one of my use-cases – read a request like “add 8 spare tent stakes to the camping box” and turn it into something the application can act on.

I created an agentic fine-tuning and evaluation loop with a custom evaluation harness: an AI agent proposes one change at a time, a custom evaluation harness measures it against a frozen test set, and every run gets appended to a log with its settings, result and next decision. The agent does the all the work of dataset generation, training, evaluation and diagnosis.

Setup

I built a fixed test set of 45 requests covering nine intents, five cases each, and froze it. Every model, change and training run was measured against those same 45 cases. The output metrics of each run were: intent accuracy, meaning did it pick the right action, and parameter accuracy, meaning did it extract the right details. A third important number is: fallbacks, the count of cases where the model declined to answer and returned “unclear.”

The OpenAI baseline (gpt-5.6-luna) was created and frozen. It scored 93.33% intent and 71.11% parameter accuracy with no fallbacks.

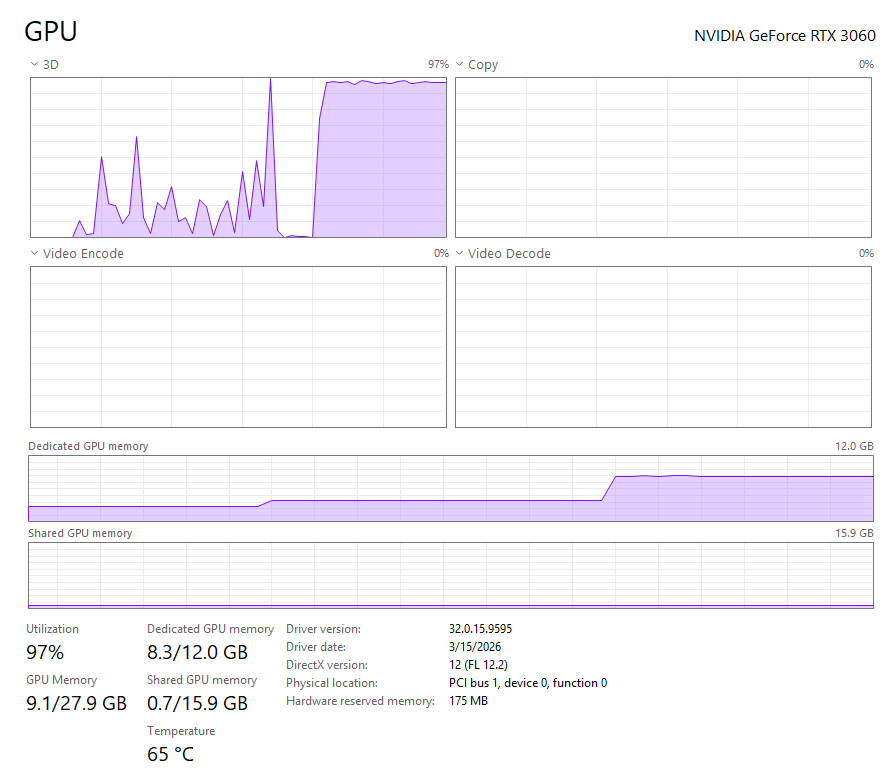
All local training ran on a consumer RTX 3060, in WSL2 with CUDA. LoRA fine-tuning, rank 16, alpha 32, learning rate 1e-4, batch size 4. A 15-epoch run takes about 20 minutes.

The entire source, including training data, eval harness, scripts and agent skill is on GitHub – needle-tuner.
Part 1 – needle2

The first local comparison with needle2 model from Cactus. It scored 4.44% intent accuracy. The problem turned out to be how I was asking the question. I had given the model one abstract, generic “classify this” tool. I replaced it with eight concrete tools, one for each real action the application supports.

The result went to 62.22% intent and 68.89% parameter accuracy.

With this reasonable starting point, I fine-tuned on a small purpose-built training set and ran a structured loop: change one thing, measure against the frozen test set, write down the result.

Needle2 configuration Intent Parameter
Base model, redesigned tools, no training 62.22% 68.89%
Best fine-tuned run (5 epochs, rank 8) 64.44% 62.22%
Longer training (30 epochs) 57.78% 64.44%
Heavier defaults 42.22% 51.11%

The best training result gained two points on intent accuracy over no training at all, and lost six on parameters. More training made things worse. The heaviest run also refused to answer far more often, with 15 fallbacks against 9 for the untrained model. The results were noisy enough to make any single comparison suspect. Two runs of the identical best configuration measured 64.44% and 60.00%, so I stopped treating one good run as evidence of anything. Validation loss kept improving while held-out accuracy got worse. Had I watched the training dashboard instead of the frozen test set, I would have shipped a regression. I stopped at this point.

Part 2 – needle3

A new version of the model family had shipped in the mean time, with a different architecture and a different native engine. Untrained, needle3 measured 71.11% intent and 66.67% parameter accuracy with 7 fallbacks. I modified the agentic loop to support the new model and executed again.

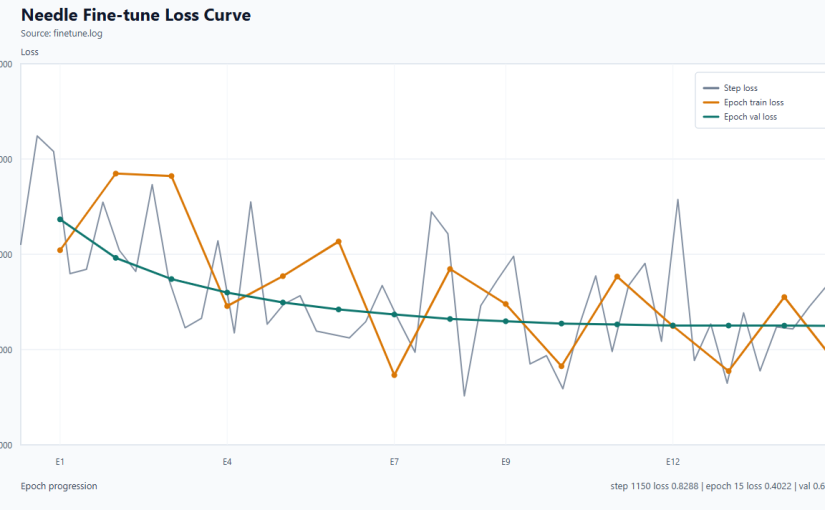
A one-epoch smoke test scored 68.89% and 73.33%, which is one run on one epoch and proves nothing on its own. A full 30-epoch run at the wrapper defaults scored 71.11% and 66.67%, identical to the untrained base. However, the per-intent breakdown had shifted underneath, some intents up and some down, while the totals stayed flat. Validation loss bottomed out at epoch 13 and climbed for the remaining 17 epochs while training loss kept falling. Same overfitting pattern needle2 had shown.

The issue

Instead of tuning another hyperparameter, I stopped reading aggregate scores and started reading individual failures.

The training data and the held-out test set agreed on which intent was correct. They disagreed on the convention for writing the parameters down.

The first problem was descriptive adjectives. For delete requests, the test set strips condition words from item names, so “the broken toaster” is expected to yield ‘toaster’. All 12 authored delete rows in my training data did the opposite, keeping ‘cracked mixing bowl’ and ‘expired pain reliever’ intact.

The second problem was a wrong key name. For inventory-viewing requests, the training data used a ‘location’ key for the container slot while every other intent, and the test set, used ‘boxLabel’. It also carried a ‘scope’ key that appears in zero held-out cases.

The model was learning my convention faithfully and being marked wrong for it, on 100% of those cases. That also explains why longer training hurt: more epochs meant learning the wrong answer more thoroughly.

The Fix

I corrected 12 delete rows and 20 view-inventory rows, regenerated the derived datasets, re-pinned the integrity hashes and re-ran the validation suite. No hyperparameter change and dropped Epoch count from 30 to 15, taken from the previous run’s validation-loss minimum.

Result: 82.22% intent and 75.56% parameter accuracy, 6 fallbacks.

Run Intent Parameter Fallbacks
Needle2 base 62.22% 68.89% 9
Needle2 best fine-tune 64.44% 62.22% not recorded
Needle3 base 71.11% 66.67% 7
Needle3 fine-tuned, original data, 30 epochs 71.11% 66.67% 6
Needle3 fine-tuned, corrected data, 15 epochs 82.22% 75.56% 6
OpenAI (frozen baseline) 93.33% 71.11% 0

That is 11 points of intent accuracy over its own base model and 20 over needle2‘s base. It is also the first time a local model beat the hosted API on parameter accuracy, 75.56% against 71.11%. Intent accuracy is still 11 points behind.

The per-intent movement matches the diagnosis. Delete went from 80%/40% to 100%/80%. Search went from 60%/60% to 100%/100%. Update improved as well, since the bare-noun convention is shared by every intent that names an item.

Validation loss behaved differently too. With the corrected data it declined every one of the 15 epochs, with none of the mid-run turnaround the unfixed run showed. The contradictory labels had been generating the overfitting signal themselves.

Next

Parameter extraction already beats the API. Intent classification is 11 points behind, and most of the remaining gap sits in one diagnosed failure mode: deciding whether a vague request is actionable.

The next lever is contrastive training examples sitting right on that boundary. After that the options get expensive: changes to how the model produces its answers, training that explicitly teaches it what a wrong answer looks like, or a different architecture.

Hyperparameter tuning and the size of the training dataset should also be revisited to explore further improvements to intent classification.

Because the same 45 cases were used to decide which experiment to run next, they are now a model-selection set rather than an unbiased final exam. Before anyone calls this production-ready it has to be tested against a separate set of cases it has never influenced.

The project also produced a reproducible pipeline along the way. A frozen test set, hash-pinned datasets, a documented training process, a log of every attempt including the failures, and a default path that validates without training and without calling paid APIs. That infrastructure is the reason the annotation issue was discoverable at all.
Universal Windows Platform Application on Raspberry Pi

Universal Windows Platform (UWP) provides a common app platform on every device that runs Windows 10. The core APIs in UWP are the same on all Windows devices – including Desktop PC, Mobile Phone, XBox, Hololens, IOT devices and others. 

You can target specific device capabilities of a device family with extension SDKs, but you don’t have to do that if you are only using core APIs. Those core APIs include a very impressive set of UI capabilities. What that means is that you can create a UWP application using C# and XAML which will run on an ARM based processor on Raspberry Pi – because Windows 10 IOT Core runs on that.

Universal Windows Platform (UWP) has come a long way. I decided to dust off my good old Raspberry Pi 2B and take it for a spin last weekend.

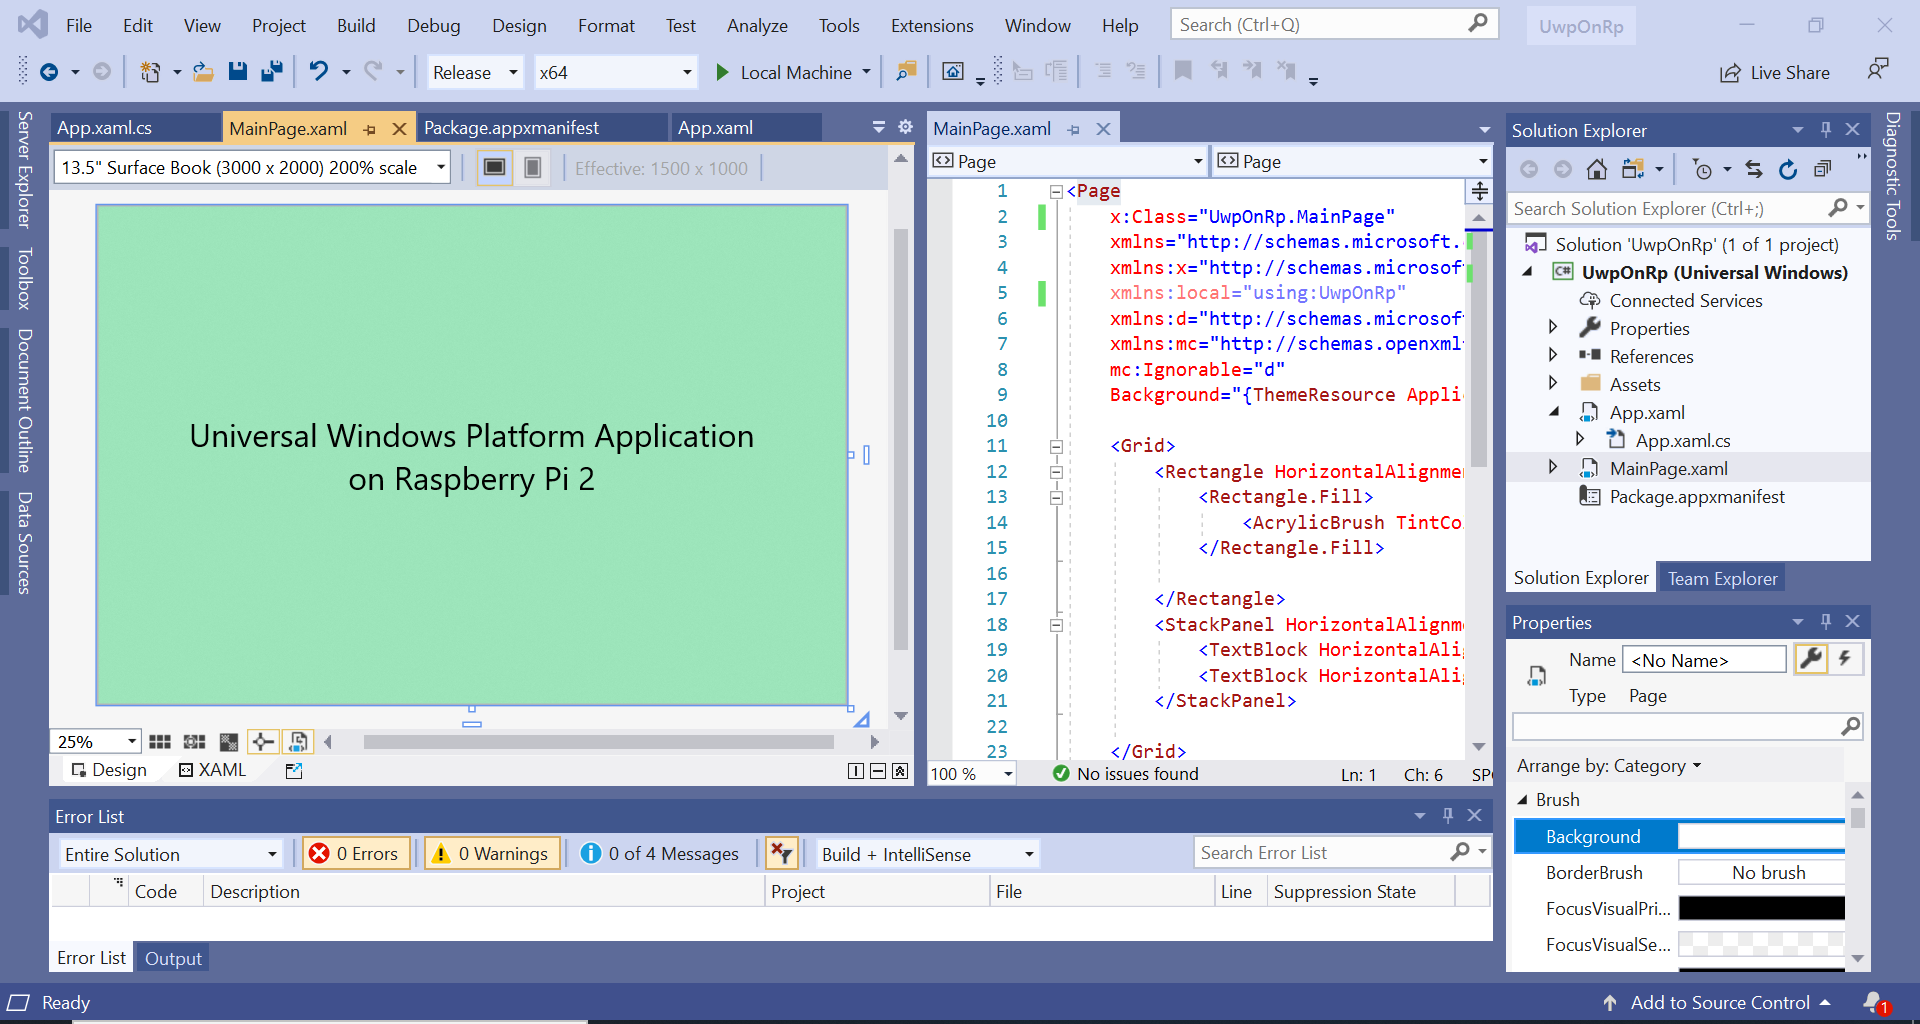
The goal was simply to create a Hello World UWP application, deploy it on Windows 10 IOT running on Raspberry Pi (RPi), without using any device specific extension SDKs. Here is the stack – 

Create a simple UWP application in Visual Studio 2019. 

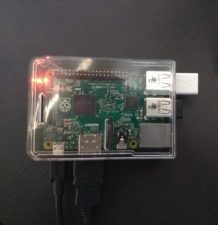
Install Windows 10 IOT Core on Raspberry Pi 2B and connect the device to a 50″ screen TV. 

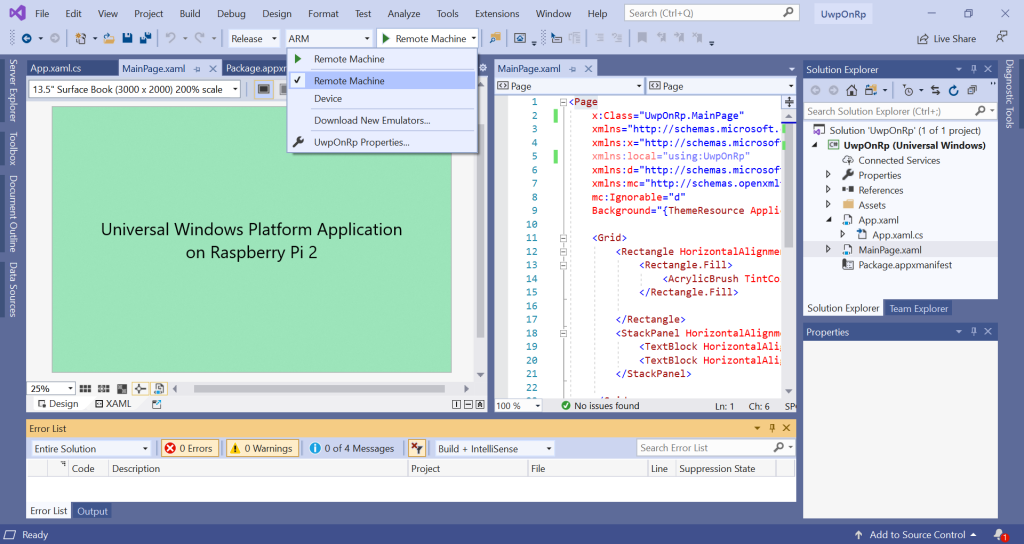
Select ARM in the target platform drop down and Click on Remote Machine to Run/Debug Application on RPi device.

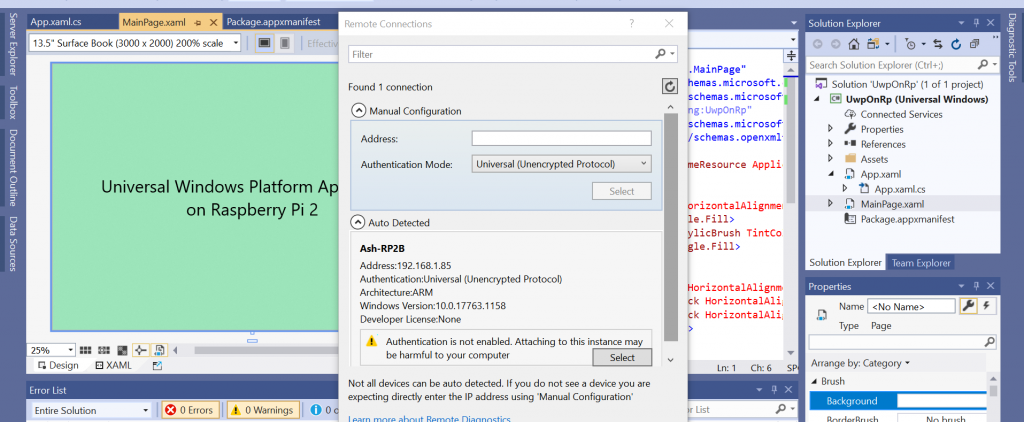
Select RPi device for deployment.

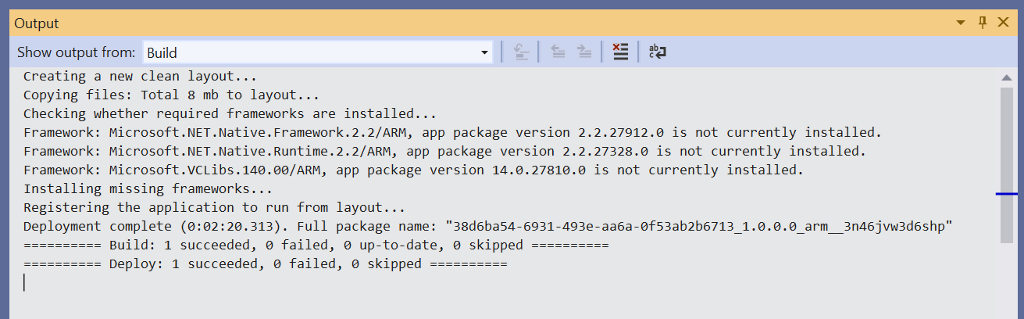
Deployment of UWP on RPi is complete. 

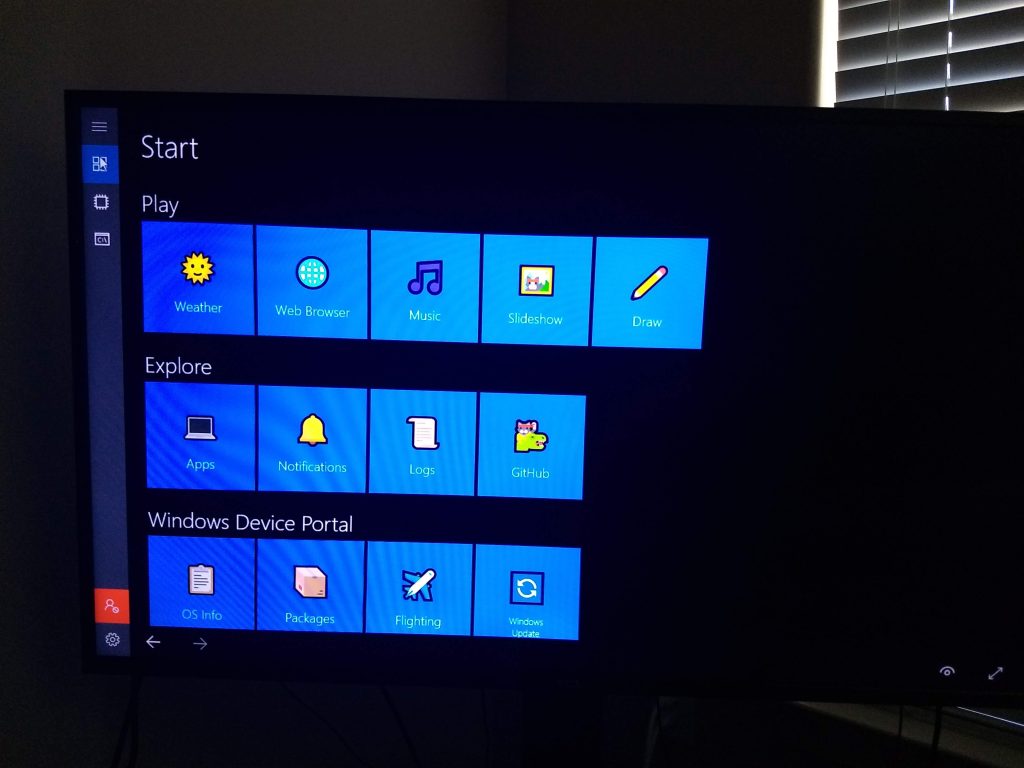
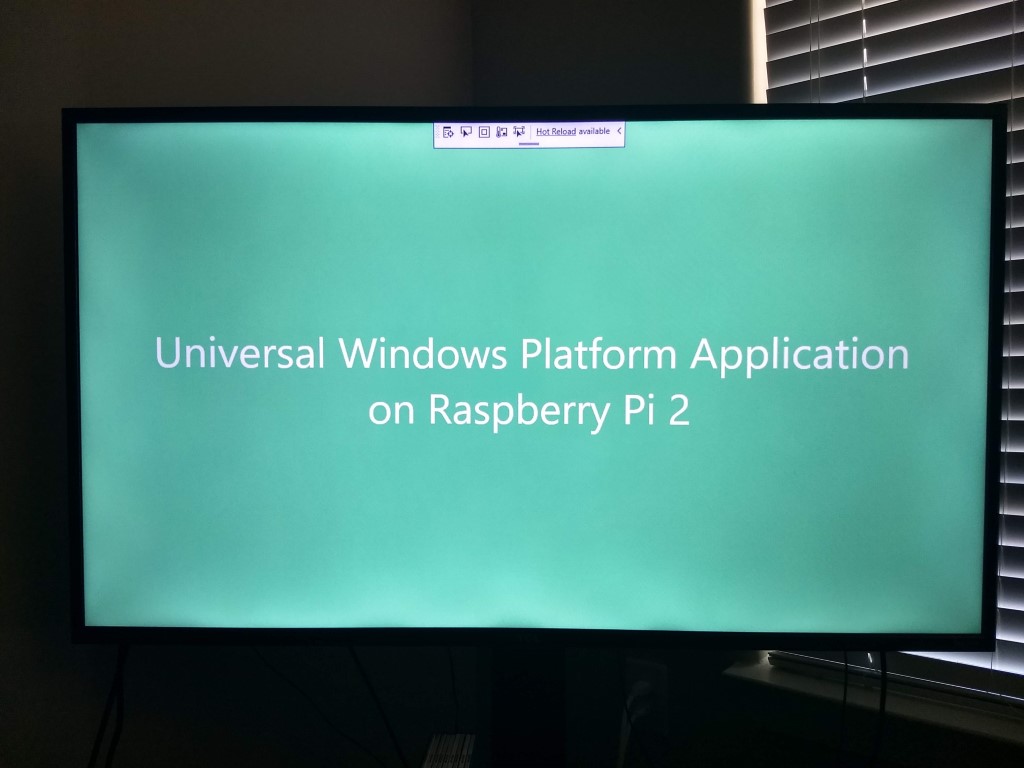
UWP application running on RPi. 

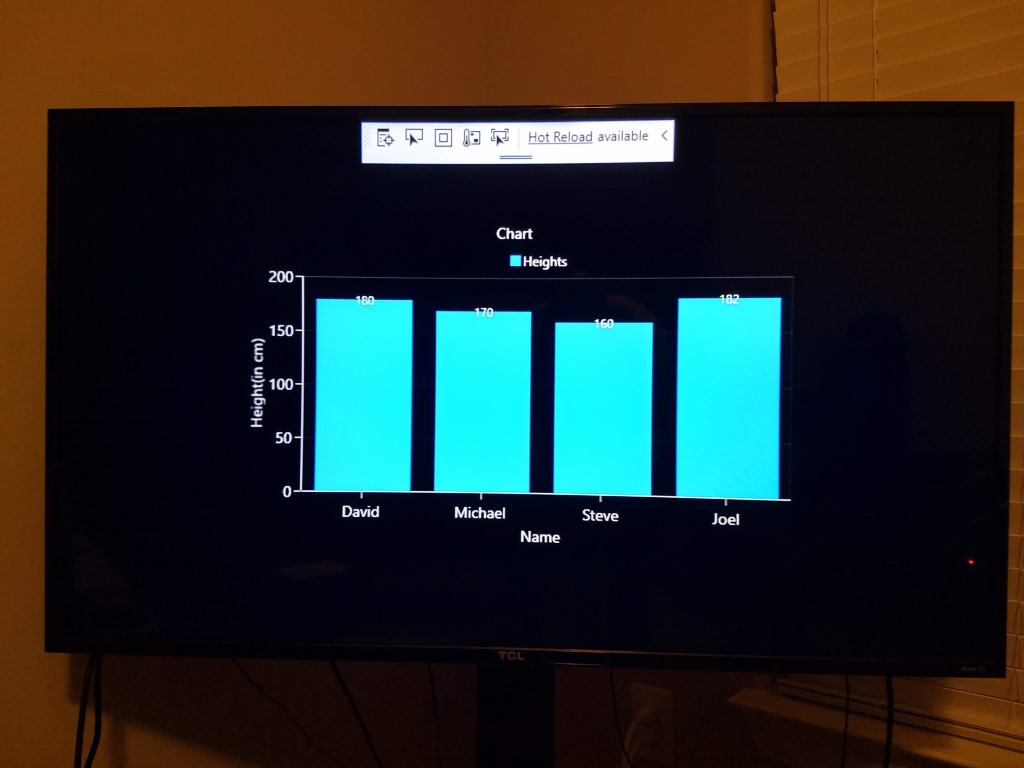
I updated the UWP application to include Syncfusion Chart control. Did you know that you can get a Community License for the entire product line (including Blazor, Xamarin and UWP controls) from Syncfusion?

UWP application is now running on RPi, attached to the Visual Studio debugger running on the development machine (Windows Surface). 

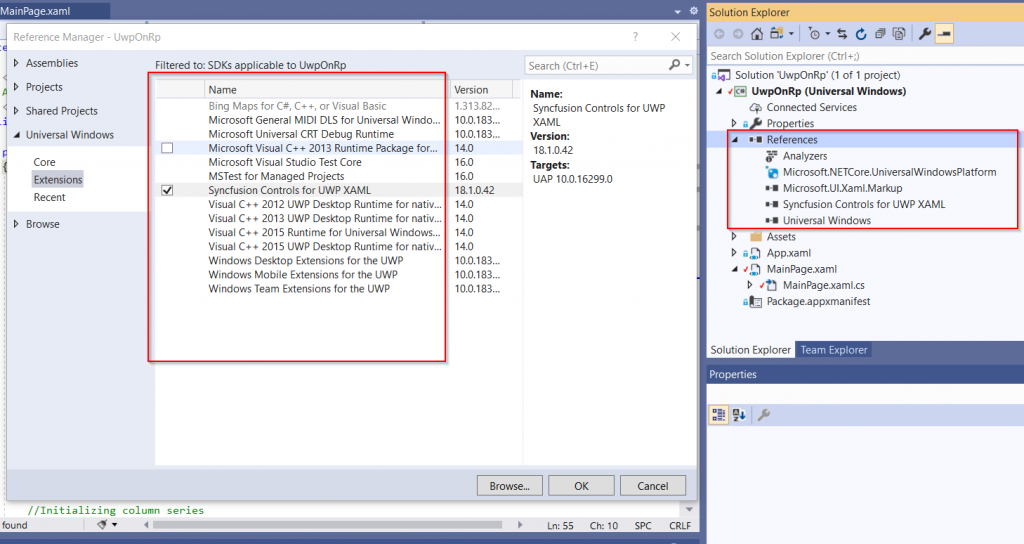
No device specific extension SDKs were referenced, just the core UWP APIs were used.

Code is on github.

Creating Android Apps using C# and Xamarin

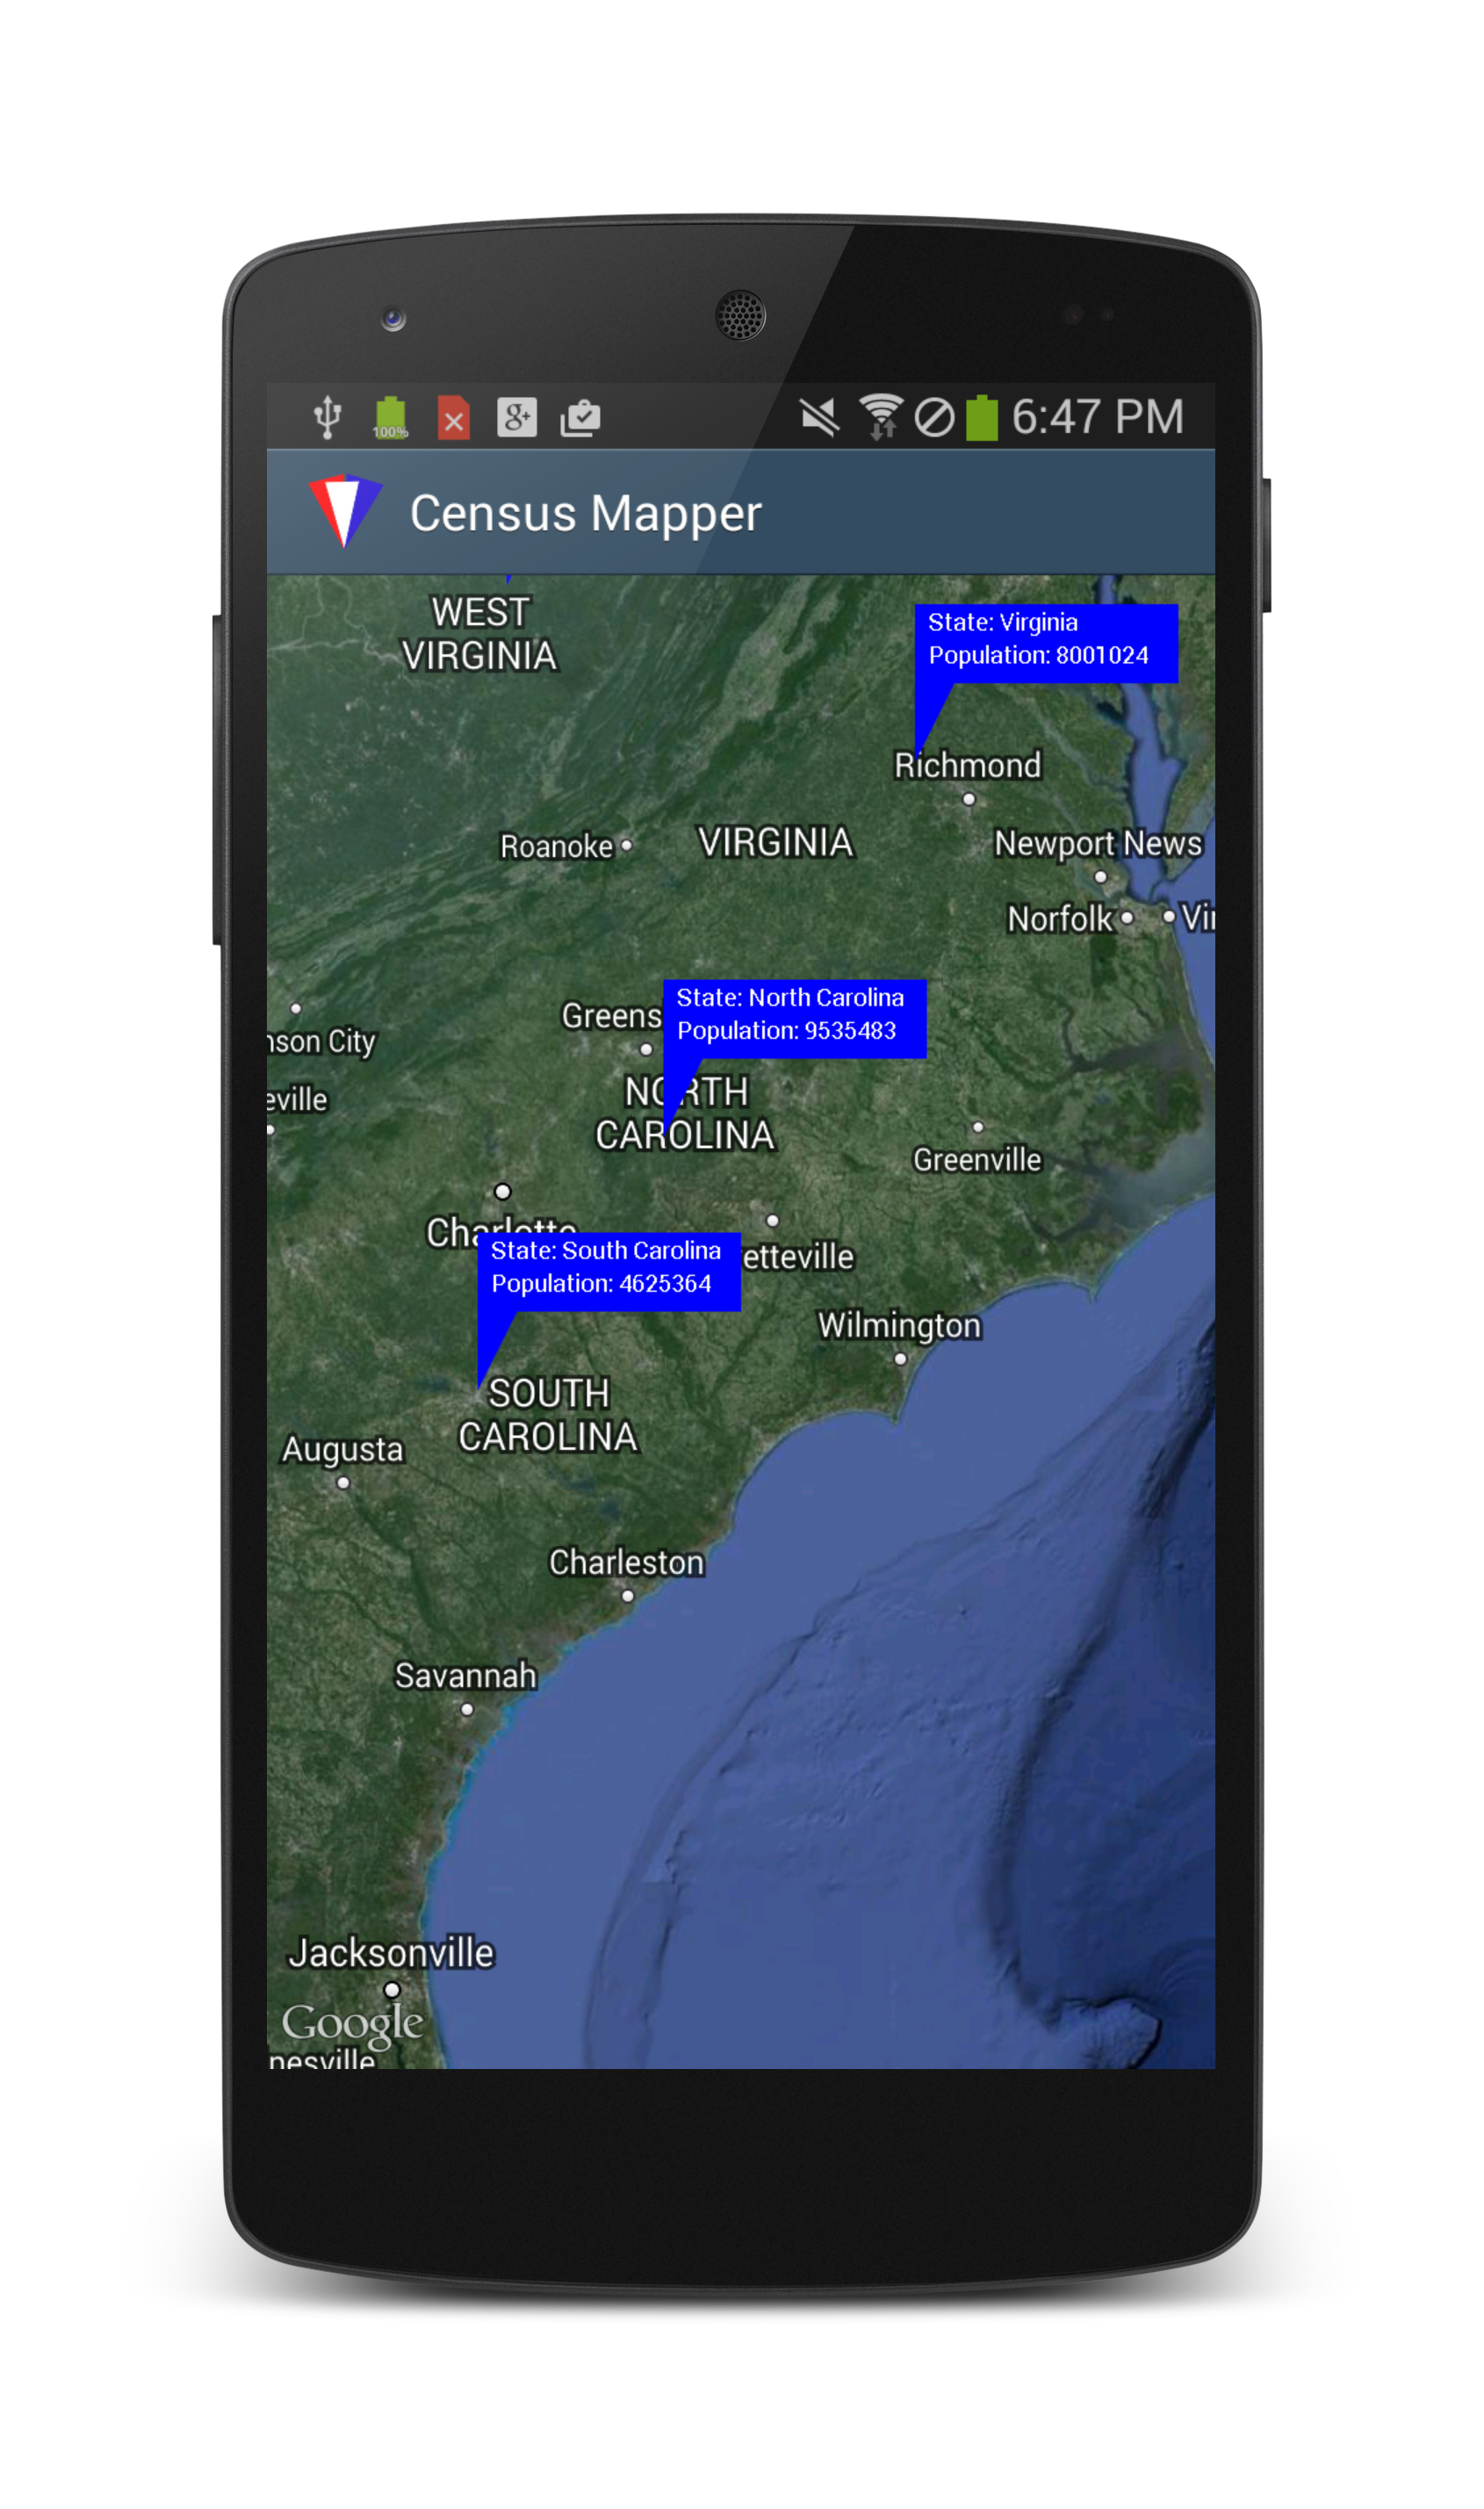
You can create native Android and iOS applications using C#, with Xamarin. I explored the capabilities of Xamarin tools and the development experience with Xamarin to create an Android version of CensusMapper. CensusMapper displays U.S. Census data on a Map. I created the original application for Windows 8 (WinRT) using C#. I have since converted it to an MVVM (C#) application, HTML/Javascript (WinJS) version and more recently to a Universal Windows App running on Windows Phone 8.1 and Windows 8.1. In that tradition, now it is faithfully ported to run on Android devices, using C# and Xamarin. CensusMapper is available on Google Play Store.

censusmapper-android-on-nexus5

CensusMapper.Android shows population of each U.S. State. User can tap on a location on the map to show the population (as per 2010 census) of the zip code containing the selected location. User can select a location to view the population compared to the containing geography, as a pie-chart.

This experimental project helped me expand my cross-platform mobile application development skillset in the following areas:

  • Using Xamarin/C# to create an Android app using Xamarin Studio on a PC and a Mac.
  • Structuring C#/.NET source code in a Portable Class Library to allow reuse on Windows, Windows Phone, Android and iOS platforms.
  • Converting the functionality of an existing Windows Universal App (Windows Phone/ WinRT) to an Android app.
  • Using GoogleMaps API (via Google Play Services) to display data retrieved from U.S. Census API.
  • Using Bing Maps API for reverse geocoding in an Android app.
  • Creating custom markers using low-level API in Android.Graphics namespace to display information on the map.
  • Charting with oxyplot cross-platform charting library.
  • Working with Android SDK, AVD Manager as well as developer documentation and resources on Android and Xamarin websites in the development lifecycle of the app.
  • Publishing an app on Google Play Store.

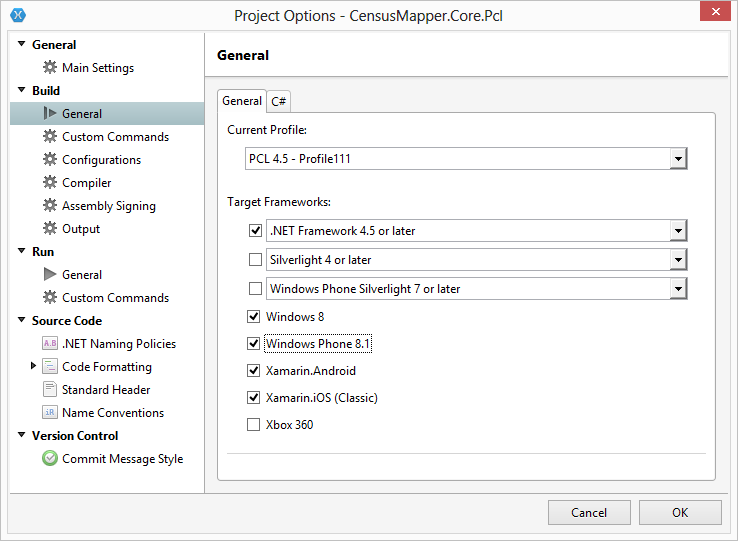
I started with Xamarin.Forms.Maps. It was quick and straight forward to create a Xamarin.Forms app. The tricky part was creating the custom markers (the shape of speech bubble) on the map, instead of using the default push-pin markers . I tried creating a CustomRender to create custom markers and built interactivity with the map elements, but it turned out to be too much hassle. All of that customization would be specific to Android platform only and not reusable on the iOS anyway. So, I decided against using Xamarin.Forms and work directly with Google Maps library. Xamarin.Forms also limits me to Windows Phone 8 compatibility in my PCL. I can’t use Windows Phone 8.1 in any PCL profile compatible with Xamarin.Forms. It also requires a minimum of Android 4.0. The PCL profile # 111 for sharing code between Windows 8, Windows Phone 8.1 as well as Android and iOS, is not compatible with Xamarin.Forms at the time of writing this.

pcl-profile-111

Don’t use the Android emulator for testing. Get a real device. I stopped using the emulator while working on CensusMapper because GooglePlayServices (GPS) dependency was making me jump through way too many hoops. Debugging map functionality on the real device was a much more productive experience. Then I discovered Xamarin’s Android Player. It is awesome. By all means, use it! It is a pleasure to work with, especially on a Mac. Don’t be discouraged by the preview/beta status. It blows the Android SDK virtual devices out of the water, in terms of performance and usability.

I tested on Google Nexus 4 (Android 4.2), Samsung Galaxy SIII (Android 4.3) , BLU Dash JR (Android 4.4) and an older Coby Kyros tablet (Android 2.2). Google Play Services update, required for the app to work, could not be installed on BLU device because of the limited storage space. You must root the device in order to install the GPS updates on an SD card. It is advisable to have a root-friendly device. Google Nexus devices are excellent development devices, allowing you root access and the ability to load custom ROMs. However, it is very important for you to get a few different kinds of devices of various form factors and Android versions/API levels for testing your app’s functional and non-functional aspects.

Android device logs and the IDE build logs are the most important tools you have to resolve problems encountered in the Android app development with Xamarin. These should be the first places to look when troubleshooting issue.

Versions used in this project:
Xamarin 3.8.
Xamarin Studio 5.7
Xamarin Android 4.20.0

Get it on Google Play

Using Layer Diagrams – Keeping your MVVM code from turning into spaghetti

Raleigh Code Camp 2013 is wrapping up this afternoon. The venue and the crowd was phenomenal. I really enjoyed presenting “Using Layer Diagrams – Keeping your MVVM code from turning into spaghetti”. Thanks to everyone who attended the presentation.

John Sonmez, Our Keynote Speaker, made my day by accepting my request to attend my presentation. It was awesome to have him in the audience and to get feedback from him!

I did not get the time to complete the raffle at the end of the presentation. But the folks who won the raffle should be getting an email from me with instructions to download their free license of CodeDemo (Professional).

The presentation slides can be downloaded from here : download.


Understanding and Using System.Transactions

These are some resources to help grasp System.Transactions functionality and use it effectively in your projects:

Features Provided by System.Transactions
http://msdn.microsoft.com/en-us/library/vstudio/ee818755(v=vs.100).aspx
Implementing an Implicit Transaction using Transaction Scope
http://msdn.microsoft.com/en-us/library/vstudio/ee818746(v=vs.100).aspx
MSDN Articles by John Papa
ADO.NET and System.Transactions
http://msdn.microsoft.com/en-us/magazine/cc163847.aspx
Revisiting System.Transactions
http://msdn.microsoft.com/en-us/magazine/cc163527.aspx
These are specific to TransactionScope (the way to go in most cases)
Here is a practical example of Using TransactionScope :
http://thewayofcode.wordpress.com/2011/12/11/handling-transactions-in-net-using-transactionscope/
This one gets in depth with the way a TransactionScope like functionality can be implemented. Gives you a good understanding of what is happening under the hood when using TransactionScope in some Repository implementations in multi-threaded scenarios.
http://msdn.microsoft.com/en-us/magazine/cc300805.aspx
Here is another example of implementing a transactional repository :
http://www.codeproject.com/Articles/31270/A-Transactional-Repository-Implementation-in-NET
There are excellent tips here about configuring TransactionScope when used with SQL Server:
http://blogs.msdn.com/b/dbrowne/archive/2010/06/03/using-new-transactionscope-considered-harmful.aspx
This is a good resource for CommitableTransaction usage – http://www.codeproject.com/Articles/55472/Committable-Transactions-in-C-SQL
And this one has brilliant under-the-hood coverage – http://www.codeproject.com/Articles/35087/Truly-Understanding-NET-Transactions-and-WCF-Impl

Using Model-View-ViewModel in WPF Applications

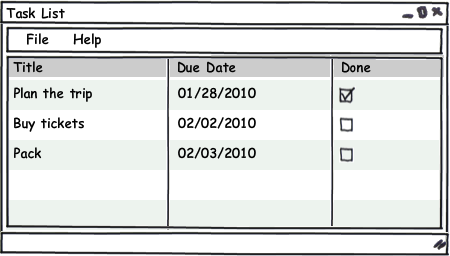
I am presenting at SoCalCodeCamp this weekend (January 30th, 2010) – Advanced WPF – Using Model-View-ViewModel in WPF Applications.

tasklist-mockup
tasklist-mockup

Agenda :

1. Roles of the M-V-VM triad
2. Why use M-V-VM ?
3. Characteristics of the ViewModel
4. Build a Sample WPF Application using M-V-VM


Resources :

  1. MSDN Magazine Article and Sample Application Download
  2. Martin Fowler’s description of the ‘Presentation Model ‘
  3. Jeremy Miller’s ‘Build Your Own CAB’ series