
Bookshelf is a Generative AI application built as a rudimentary, but fairly capable, RAG implementation written in python. It can use an open source LLM model (running locally or in the cloud) or a GPT model via OpenAI’s API.
- The application is created using streamlit.
- I used llama-index for orchestrating the loading of documents into the vector database. Only TokenTextSplitter is currently used. It does not optimize for PDF, html and other formats.
- ChromaDb is the vector database to store the embedding vectors and metadata of the document nodes.
- You can use any open source embeddings model from HuggingFace.
- Bookshelf will automatically use the GPU when creating local embeddings, if the GPU is available on your machine.
- You can use OpenAI embeddings as well. There is no way to use a specific OpenAI embedding model or configure the parameters yet.
- Use OpenAI API or any OpenAI compatible LLM API (using LMStudio, Ollama or text-generation-webui) of your choice.
- There is a live demo on streamlit cloud – https://bookshelf.streamlit.app/
- The demo allows only OpenAI integration. You can run it locally for accessing Open Source embedding models and LLMs.
Live demo – https://bookshelf.streamlit.app/
You will need your OpenAI api key for the demo.
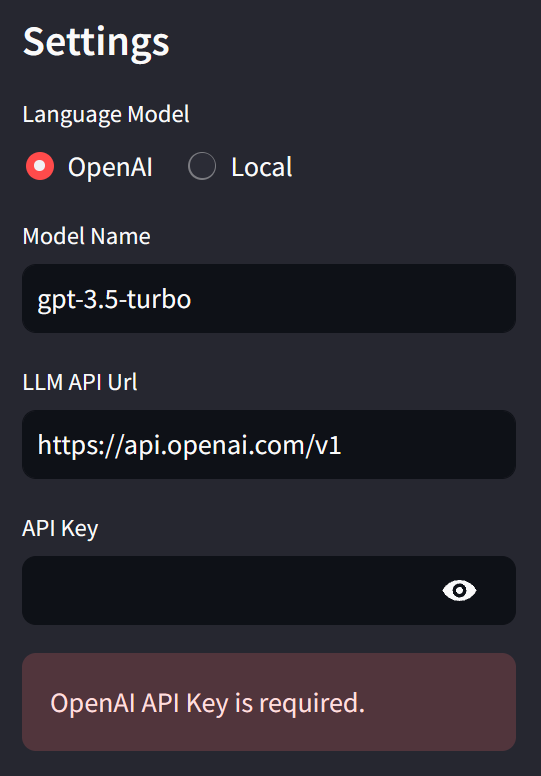
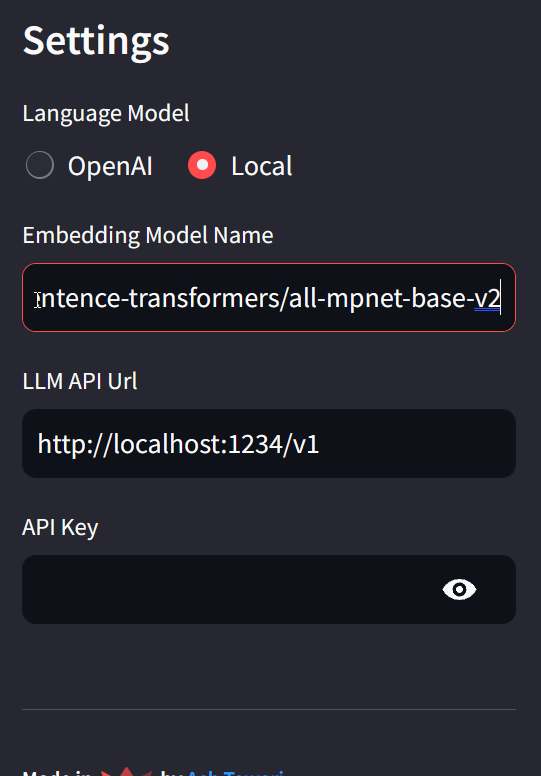
If you are running it locally, you will have the option of using an Open Source LLM instance via an API Url. In the screenshot, I am using an open source Embedding Model from HuggingFace (sentence-transformers/all-mpnet-base-v2) and The local LLM server at http://localhost:1234/v1
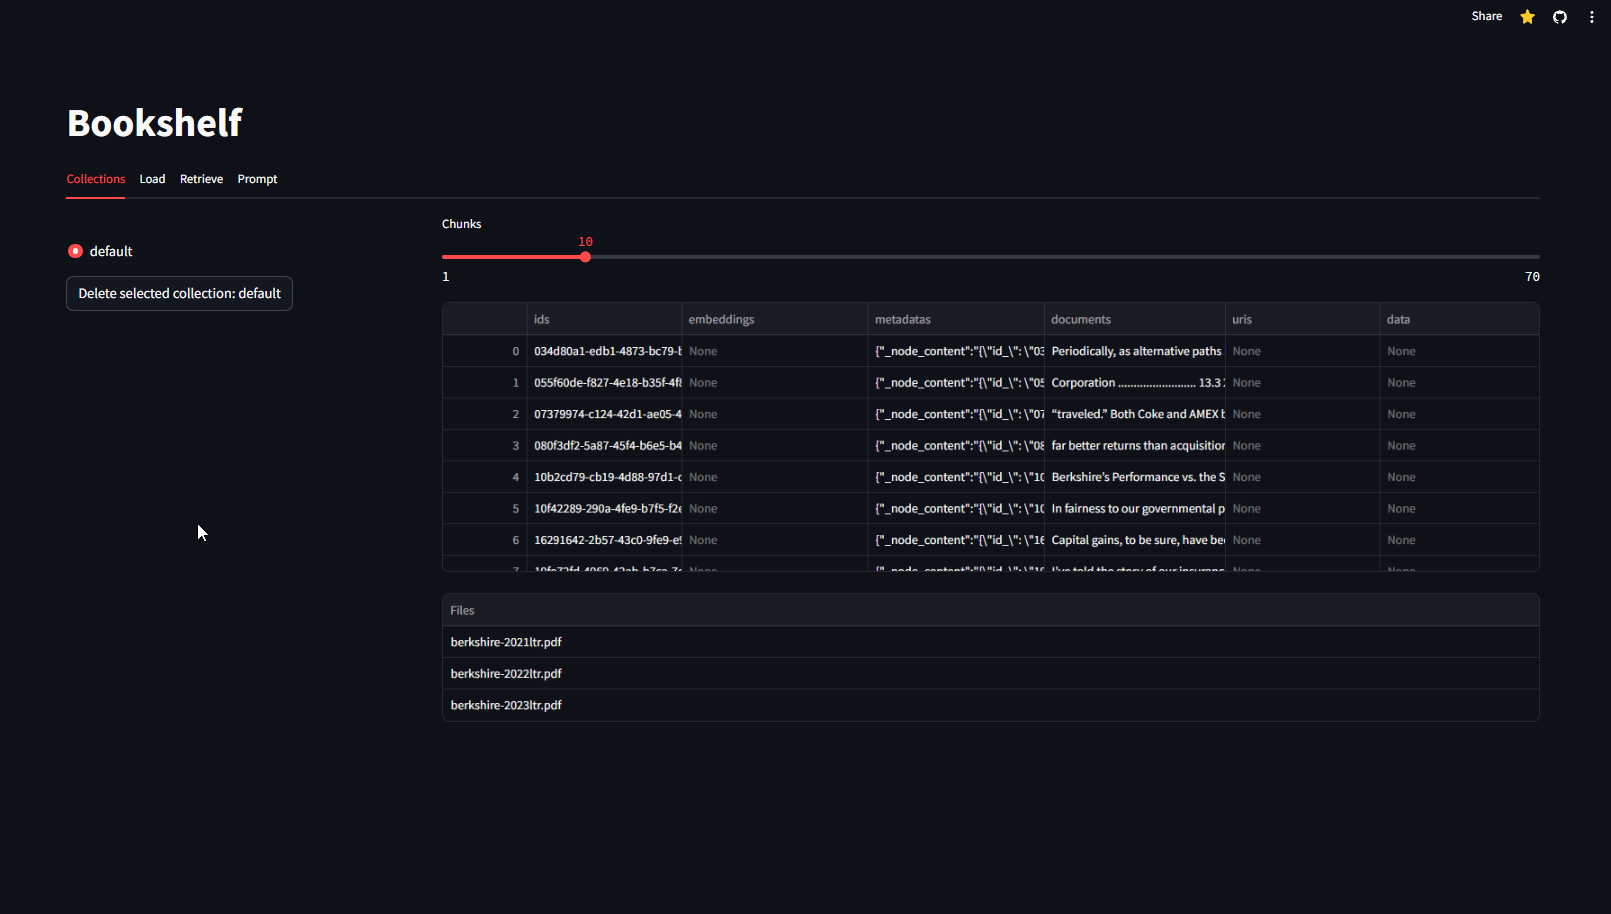
Collections tab shows all collections in the database. It also shows the names of all the files in the selected collection. You can inspect individual chunks for the metadata and text of each chunk. You can delete all contents of the collection (there is no warning).
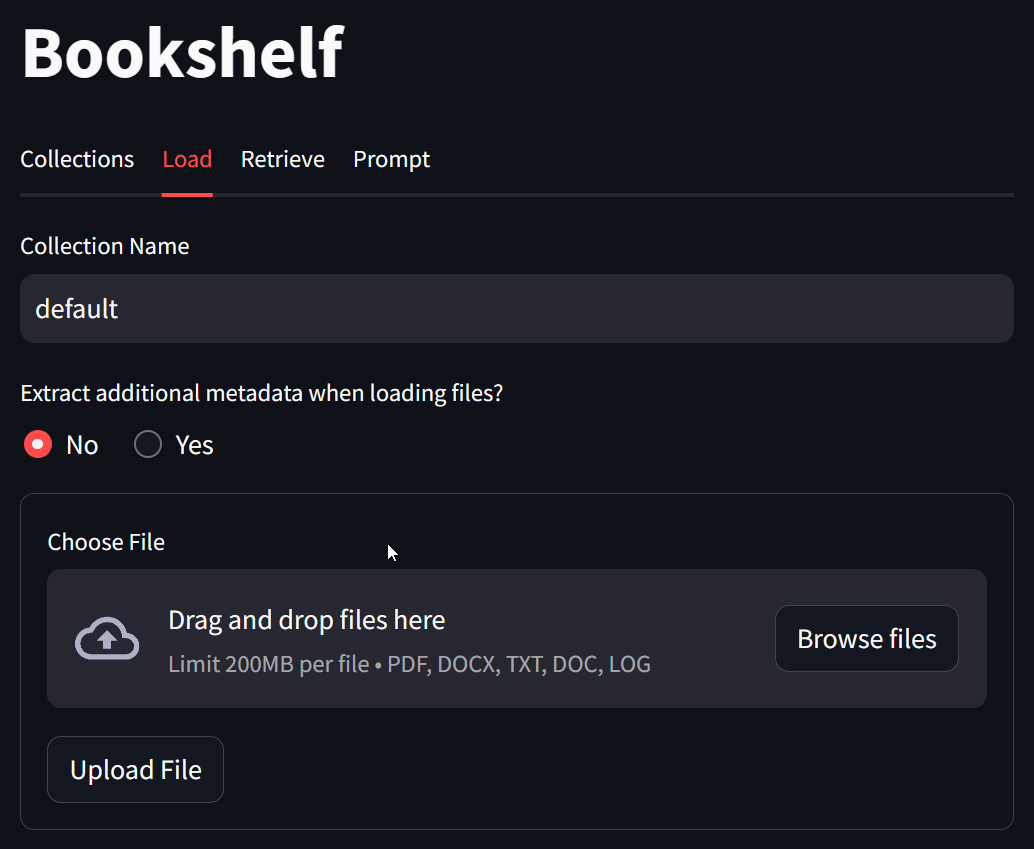
You can modify the collection name to create a new collection. Multiple files can be uploaded at the same time. You can specify if you want to extract metadata from the file contents. Enabling this option can add significant cost because it employs Extractors which use LLM to generate title, summaries, keywords and questions for each document.
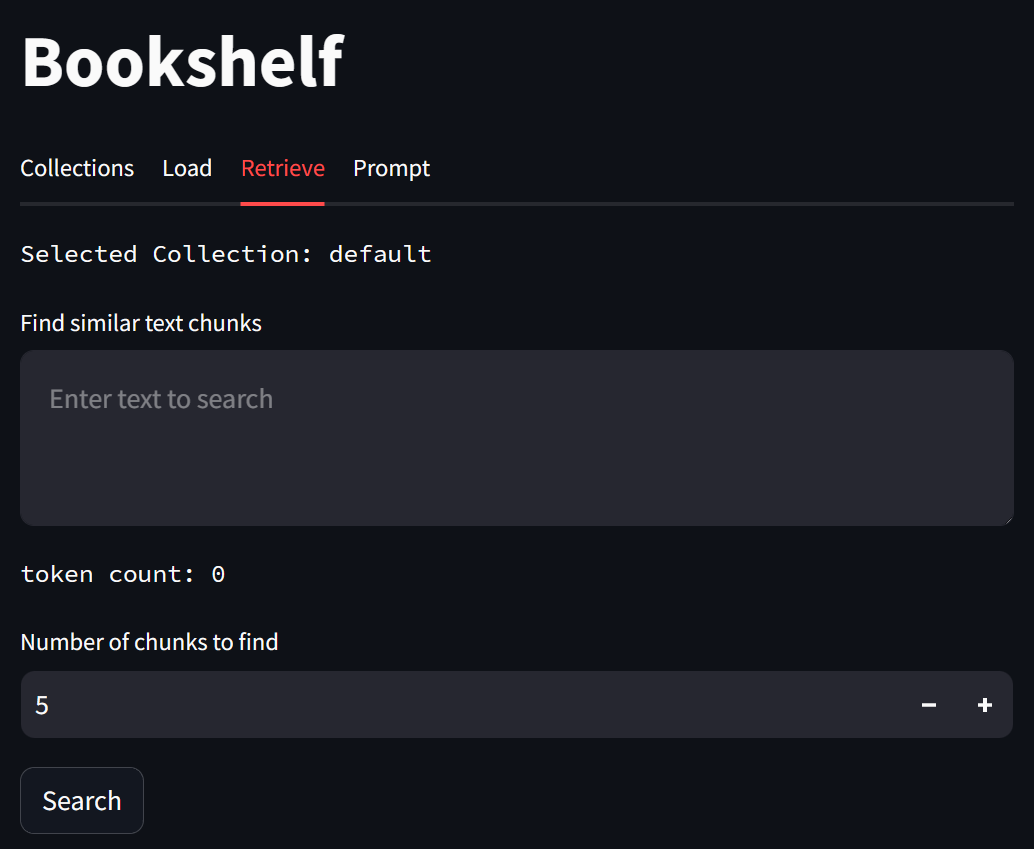
On the Retrieve tab, you can query chunks which are semantically related to your query.
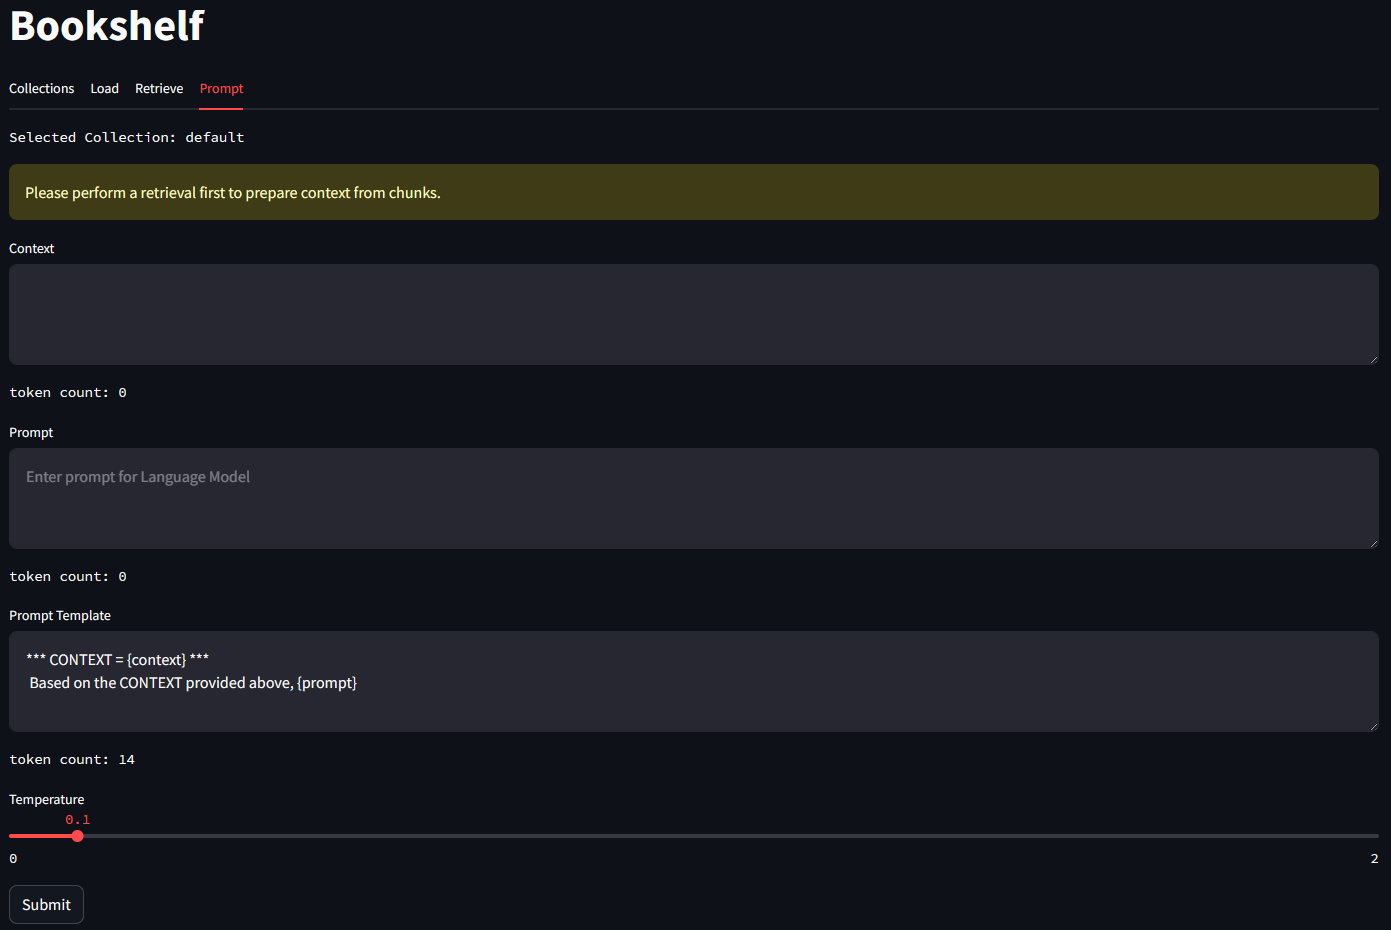
On the Prompt tab, you can prompt your LLM. The context as well as the Prompt Template is editable.
Here is an example of using the context retrieved from chunks in the Vector database to query the LLM.
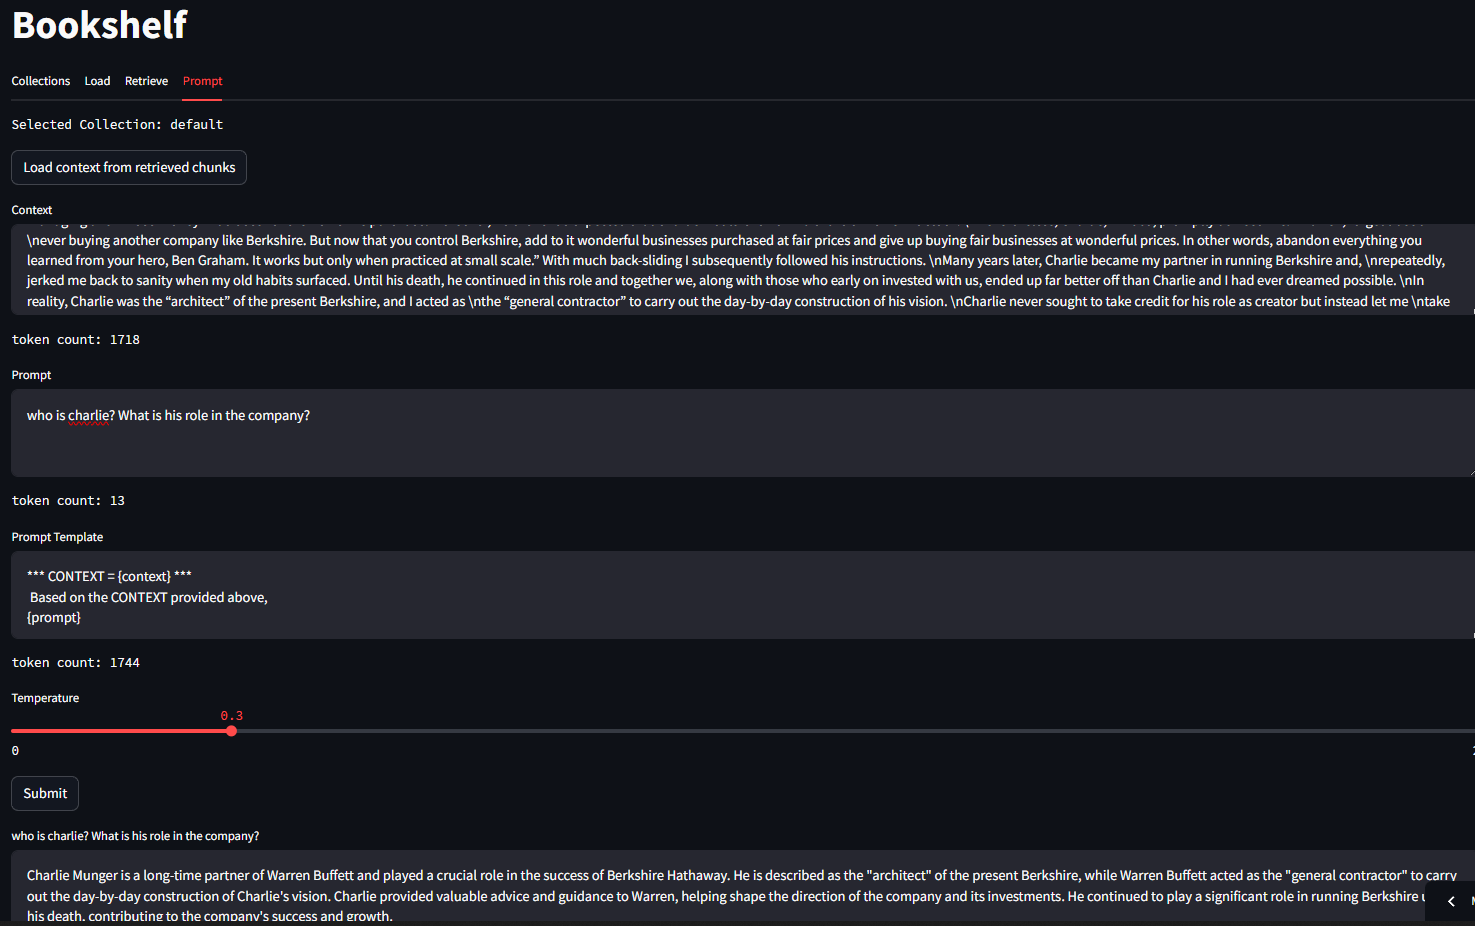
This inference was performed using Phi3 model running locally on LMStudio.

Code is on Github – https://github.com/ashtewari/bookshelf
Have fun!