Paste Table from Microsoft Excel to Confluence Wiki

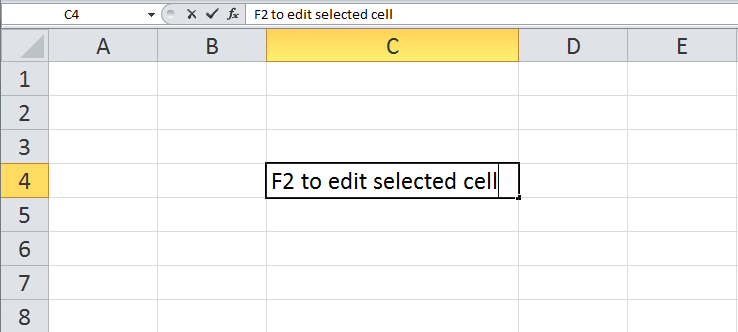
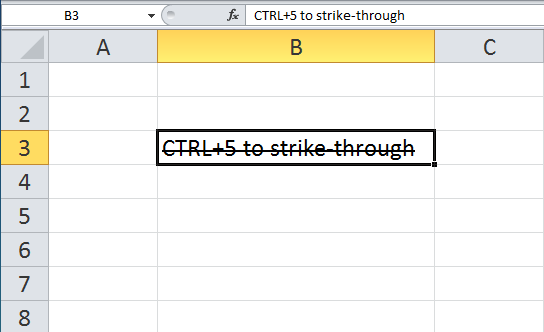
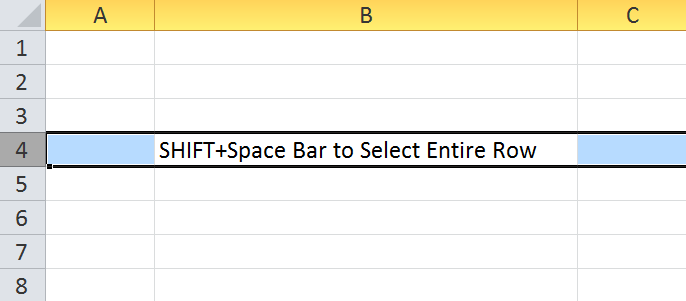
1. Create the table in Microsoft Excel.

paste-table-confluence-excel paste-table-confluence-toolbar

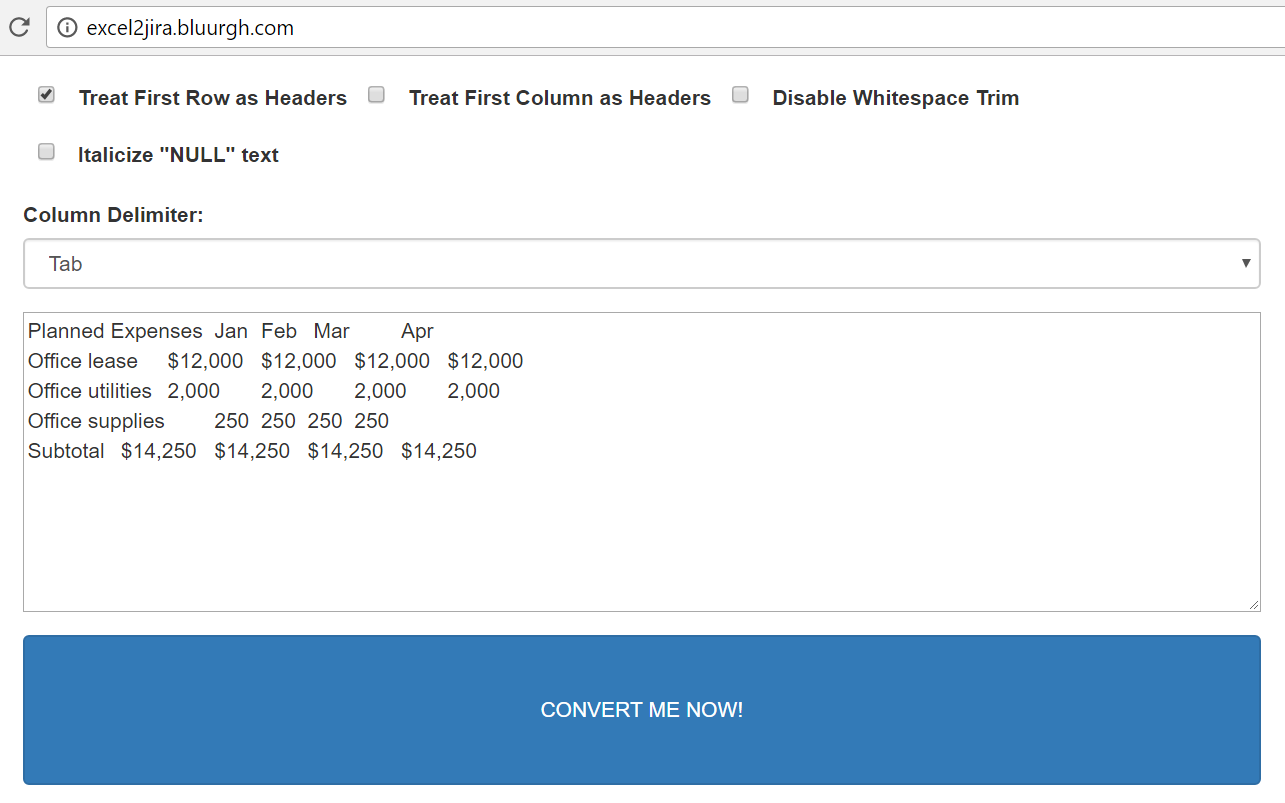
2. Open this page in browser: http://excel2jira.bluurgh.com/

3. Paste the table from Microsoft Excel into the input box on the page.

paste-table-confluence-convert-markup

4. Click on “Convert Me Now” button

5. Place the cursor at the intended insertion point in the wiki document.

6. Click on “Insert more content” (+) button on Wiki toolbar

paste-table-confluence-toolbar

7. Click on “Markup”

paste-table-confluence-markup-cmd

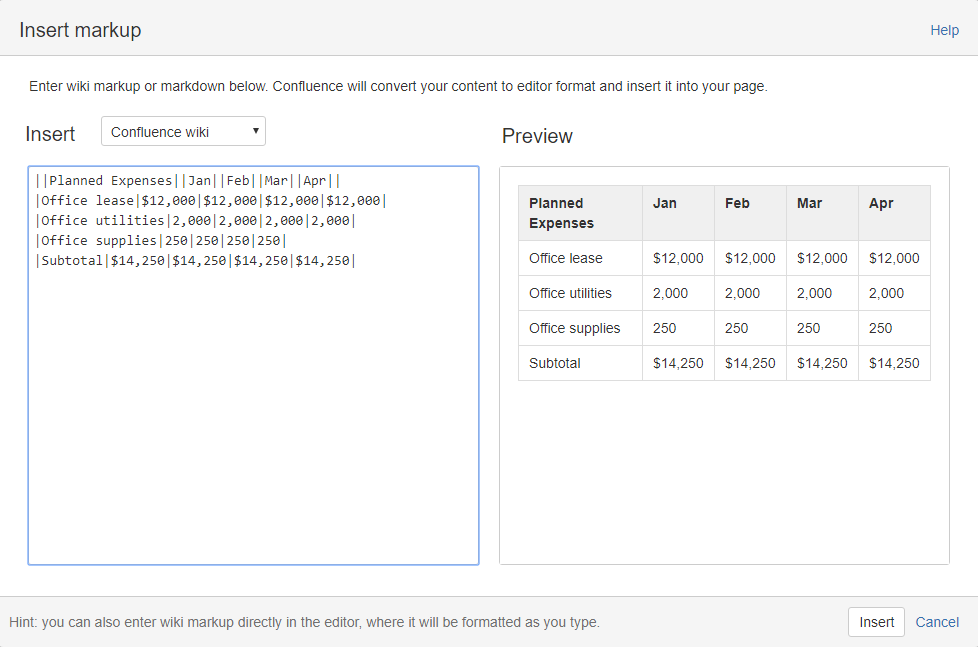
8. Paste converted markup from step 2  in the left pane and verify the preview.

paste-table-confluence-insert

9. Click on “Insert”

10. Review and verify the inserted content and make any correction if needed.


Get Your Windows 8 Start Menu Back With Pokki

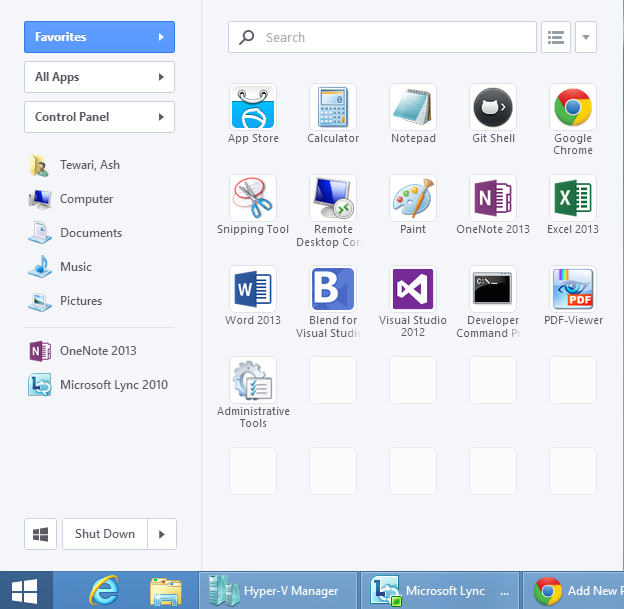
I like the new Windows 8 experience. Start screen with live tiles is awesome. But I have been missing the Start Menu when I am on the desktop. There are plenty of rumours that Microsoft will bring back the Start Menu in the next version of Windows – Windows Blue. Until then, you can use one of many third party utilities for that functionality – ClassicShell, Start8 and Pokki.

I started using Pokki. And I love it. It feels like my world is whole again. Pokki is free.

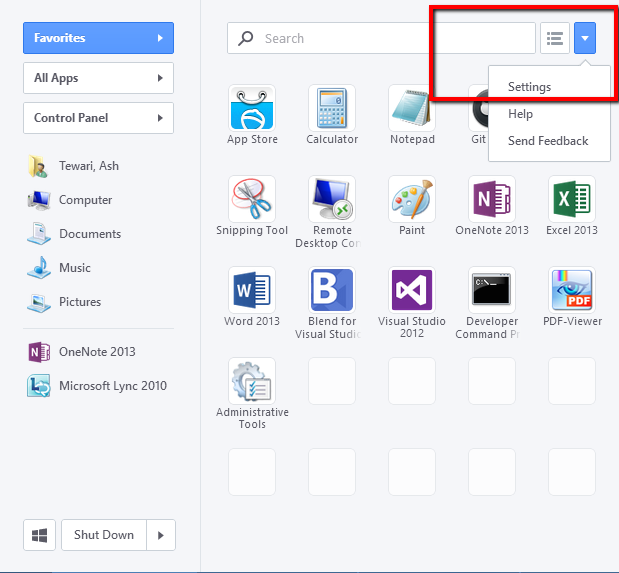
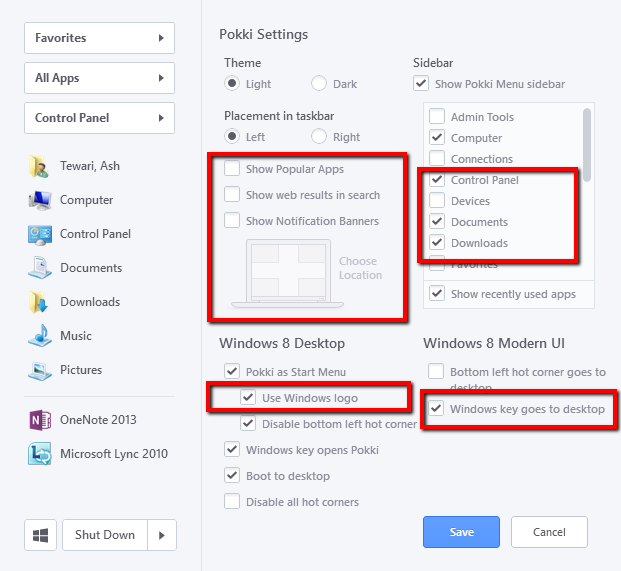
If you want to do what I did, after installing it, open settings

and make these changes:

Sideload Windows Phone

1. Create your AppHub account here – http://create.msdn.com. Registration walk through is here.

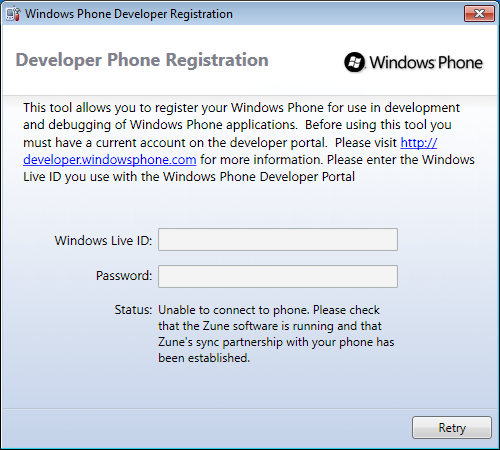
2. Unlock your phone – using PhoneReg.exe (usually) located here – “C:\Program Files (x86)\Microsoft SDKs\Windows Phone\v7.0\Tools\Phone Registration\PhoneReg.exe”

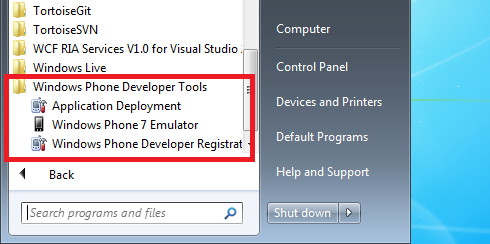
wp-Start-WPDevTools

wp-dev-phone-registration

3. Sideload xap into your phone. Use XapDeploy.exe (usually) located here – “C:\Program Files (x86)\Microsoft SDKs\Windows Phone\v7.0\Tools\XAP Deployment\XapDeploy.exe”

wp-app-deployment

You can also deploy straight from Visual Studio to Windows Phone Device. Connect your phone to your computer.
Make sure Visual Studio deployment target is “Windows Phone 7 Device” :

wp-device-target

From Toolbar, select Build, Deploy Solution.

SVN Merge – Selecting Changesets

Here is a simple scenario – I have already merged changesets 45-55 from the trunk to branch b1. After this merge, more changes (56-60) were submitted into the trunk and I now need to merge those changes also to branch b1.

Which changesets do you select to merge ? 56-60, right ? Well, not exactly. It depends. If you are using Subversion merge command, you will need to specify 55-60. If you are using TortoiseSVN, you will select 56-60. You should keep this in mind if you are used to TortoiseSVN and you are attempting a merge using SVN merge command. Otherwise, you will end up with a merge without change 56.

Selecting changes to merge can become non-trivial when you don’t know which changes have already been merged. However, there is good news. With subversion 1.5, when you are selecting changes from source branch to merge into a target branch, don’t do it ! Subversion 1.5 onwards has built-in merge tracking. When using TortoiseSVN, if your intention is to merge all changes, just leave the changeset selection blank. Subversion knows which ones have already been merged and which ones to merge and it does it automatically. You can also select changes that have already been merged and those will be handled (excluded) automatically too.

There is a summary of what to expect from Subversion Merge-Tracking feature here – Subversion 1.5 merge-tracking in a nutshell.

There is detailed description of Subversion Merge-Tracking here and search for ‘mergeinfo property’ in Subversion documentation.
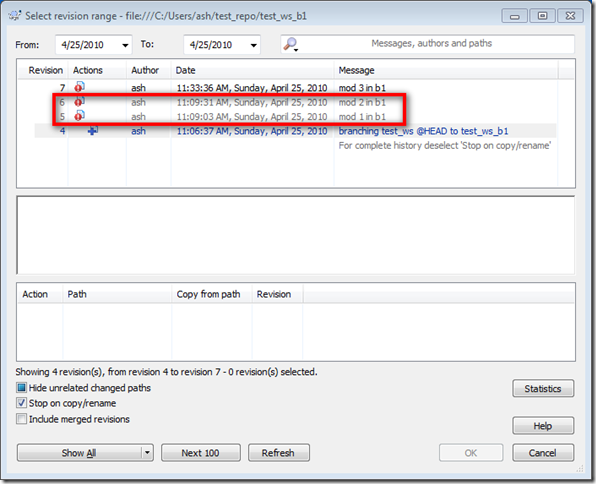
changes already merged appear in grey

The above screen-shot shows the changes already merged in grey. Thanks to Subversion’s mergeinfo property.

So, can I just stop worrying about changesets altogether, when merging ? There are a few caveats to how mergeinfo metadata is (and sometimes not) recorded. Read this for more information –  The Final Word on Merge Tracking.

Read about Subversion merging and branching here and TortoiseSVN merging documentation here – browse down to these sections : Reviewing the Merge Results and Merge Tracking.
Code Validation in TortoiseSVN pre_commit_hook

If you want to abort a commit if your code fails certain rule and you don’t have access to the SVN Server to configure a hook. What do you do ?

Assuming you are using TortoiseSVN, you can configure a Client-Side hook.

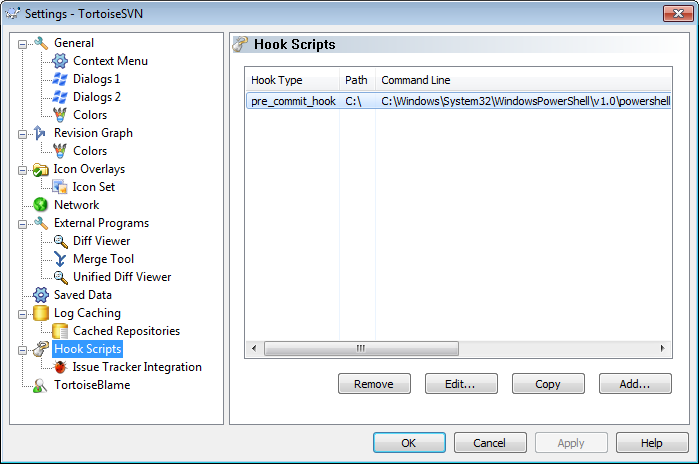
Here is an example – Say you want to abort commit if you have a comment in your code that starts with //Do Not Commit. You can create a PowerShell script that validates all the files in your changeset and use this script as a Client-Side pre_commit_hook in TortoiseSVN.

TortoiseSVN-Settings-HookScripts

The pre_commit_hook configuration :

Configure-Hook-Scripts

//Powershell script : pre_commit.ps1

$donotcommit = “//Do Not Commit“;

$changeset = Get-Content $args[0];

foreach($file in $changeset)
{
if( Get-Content $file | Select-String $donotcommit -quiet )
{
Write-Error$file contains code that you are not supposed to commit. [$donotcommit]“;
exit 9;
}
}

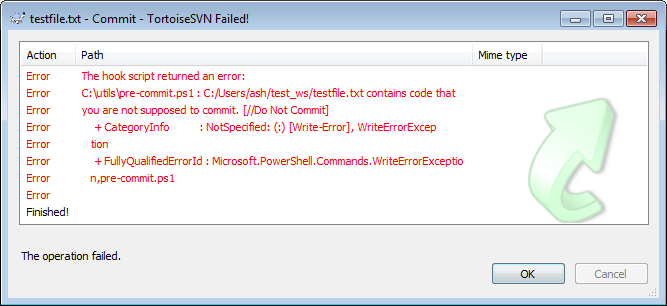
Now, if your changeset has a file with a comment starting with //Do Not Commit and you click on OK to commit this change, the commit will be aborted with this error message –

pre_commit_hook-validation